Advantages of measuring metal parts with an in-line image projection meter
The POMEAS In-Line Image Projection Gauge's non-contact measurement method protects product integrity, high precision measurement ensures accurate results, on-line real-time measurement improves efficiency, a wide range of applications enhances flexibility, and a high degree of integration makes the gauge easy to incorporate into existing production processes.

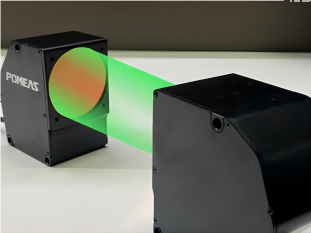
Non-contact measurement to protect product integrity

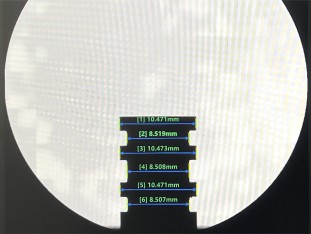
The In-Line Image Projection Measuring Instrument utilizes a non-contact measurement method, which means that there is no direct physical contact between the instrument and the metal part during the measurement process. This measurement method not only avoids scratches, deformations and other damage caused by contact, but also ensures the accuracy and reliability of the measurement results. This advantage is especially important for metal parts that need to maintain a high degree of accuracy and a perfect appearance.
Highly accurate measurements with minimal error
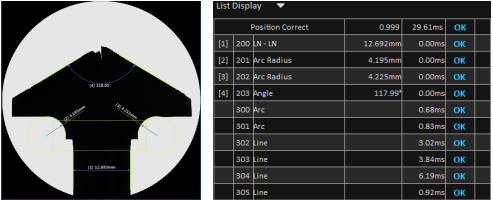
The gauge has the ability to measure with high accuracy, within 1.5 microns. This level of accuracy is critical for precision measurement of metal parts. Accurate and reliable measurement results can be obtained for both small dimensional changes and complex shape features. This is important for ensuring product quality and improving production efficiency.
Online real-time measurements for increased efficiency

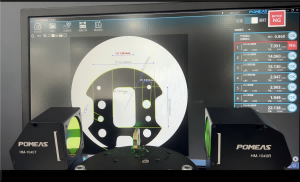
The in-line image projection measuring instrument supports online real-time measurement. Simply place the metal part in the measuring area, and the instrument can quickly obtain the dimensional information of the product. This not only simplifies the measurement process, but also greatly improves measurement efficiency. This is especially advantageous in production environments where frequent measurements and rapid feedback are required.
Wide range of applications, regardless of product shape

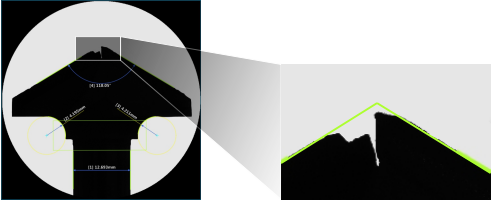
The measuring instrument has a wide range of applications and is not limited by the shape of the product. Both regular and complex shaped metal parts can be measured accurately and comprehensively. This feature makes the in-line image projection measuring instrument extremely flexible and applicable in the field of metal part measurement.
Highly integrated and easy to integrate into existing production processes
In-line image projection gauges are highly integrated and can be easily placed in production lines or other measurement solutions. This high level of integration allows the gauges to be quickly integrated into existing production processes without the need for extensive modifications or adjustments to the production line. This not only reduces production costs, but also increases the overall efficiency and flexibility of the production line.
Product recommendation
TECHNICAL SOLUTION
MORE+You may also be interested in the following information
FREE CONSULTING SERVICE
Let’s help you to find the right solution for your project!


 ASK POMEAS
  PRICE INQUIRY
  REQUEST DEMO/TEST
  FREE TRIAL UNIT
  ACCURATE SELECTION
  ADDRESS
 Tel:+ 86-0769-2266 0867
 Fax:+ 86-0769-2266 0867
 E-mail:marketing@pomeas.com
